As the 68,000+ members of Facebook’s Cooler Connection know all to well, no cooler should go unpainted. They’re perfect for beach trips, sporting events, weddings, birthdays, or any other activity involving humans. As you buy them in the store, coolers are pretty boring, ugly, and generic but they don’t have to stay that way! You have the power to make them pretty, no matter what level your artistic talents are at. Heres how to do it:
Difficulty: Moderate
Time to Craft: 2+ days
Difficulty: Moderate
Time to Craft: 2+ days
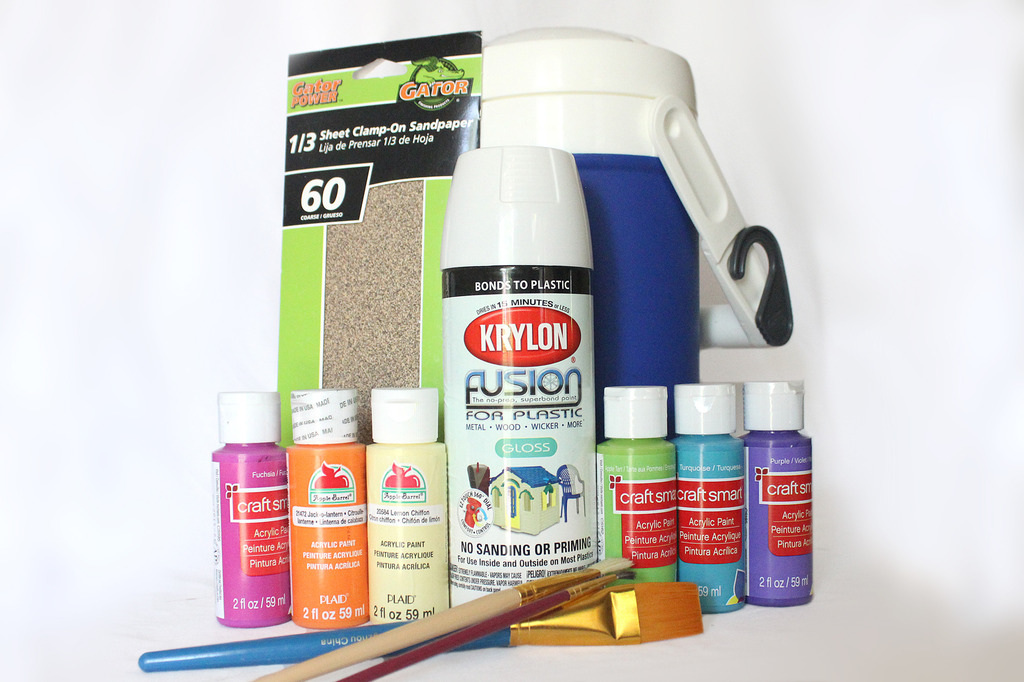
Supplies:
Cooler – the fewer ridges and indented logos, the better
Sand Paper – a rough and a fine grit, I use 60 and 100
Tape – Masking or Painters
Primer – I’ve always used Krylon Fusion for Plastic even though technically it isn’t primer, oops
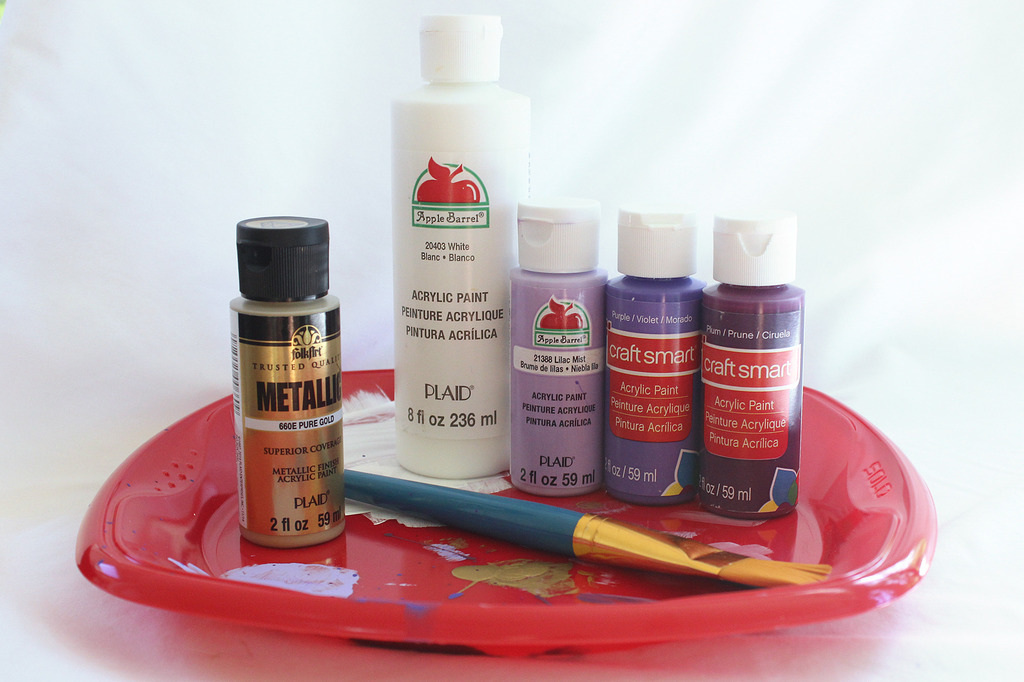
Acrylic Paint
Paint Pens (optional)
Paint Brushes
Glitter (optional)
Foam Brush
Mod Podge – I recommend either Outdoor (green bottle) or Dishwasher Safe (light blue bottle)
Polycrylic (Semi-Gloss) – I’ve always used and had success with Polycrylic but you may prefer a different sealant
Cooler – the fewer ridges and indented logos, the better
Sand Paper – a rough and a fine grit, I use 60 and 100
Tape – Masking or Painters
Primer – I’ve always used Krylon Fusion for Plastic even though technically it isn’t primer, oops
Acrylic Paint
Paint Pens (optional)
Paint Brushes
Glitter (optional)
Foam Brush
Mod Podge – I recommend either Outdoor (green bottle) or Dishwasher Safe (light blue bottle)
Polycrylic (Semi-Gloss) – I’ve always used and had success with Polycrylic but you may prefer a different sealant
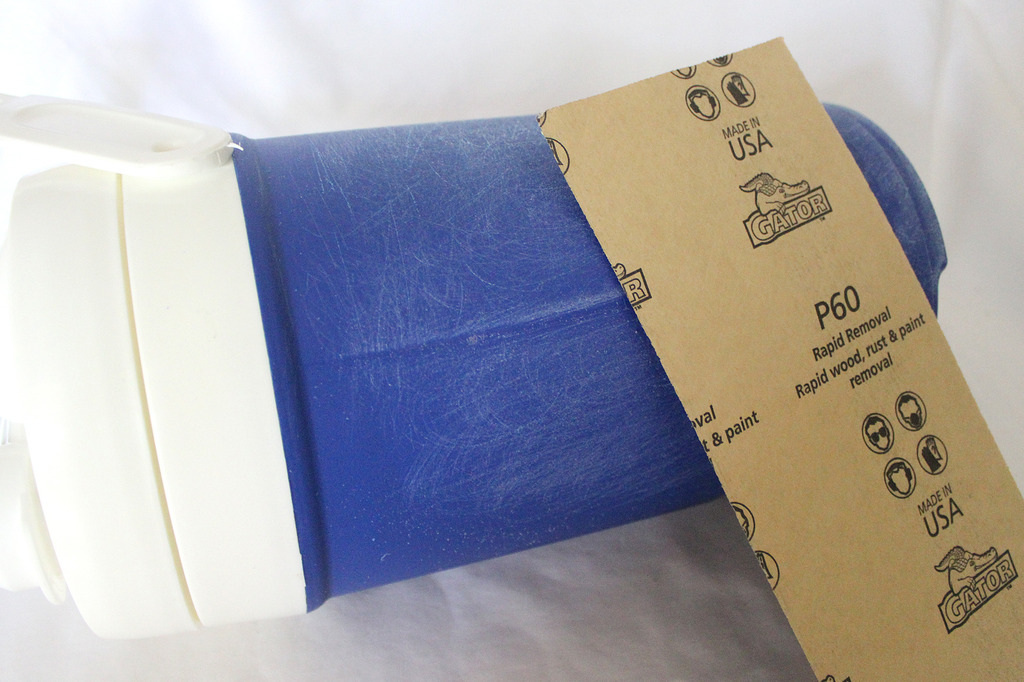
If you take one piece of knowledge away from this post please let it be that you MUST sand your cooler! I don’t care if you bought the most smooth cooler in the world. I don’t care if your primer says “no sanding!”. You. Have. To. Sand. And the reason is that the shiny finishing coat on the cooler is made to prevent things (read: primer, paint) from sticking to it. You have to sand off the top shiny layer in order to give your primer something to cling to. If you don’t sand you can watch your paint chip off while your cry over your wasted hard work. Seriously, sand.
Start with a lower number (rough) grit, such as 60, to get that shiny layer off. At this point your cooler will be pretty rough in texture so sand again with a higher number (fine) grit, such as 100 or 120, to smooth it out a bit. Don’t forget to get inside any ridges or indented logos! When you’re done sanding, wash the cooler dust off your cooler. I always sand by hand because I’ve always done small coolers or personal (1/2 gallon) coolers such as this one. If you have a large cooler and biceps smaller than Vic Beasley I’d recommend investing $30 in a power sander.
Start with a lower number (rough) grit, such as 60, to get that shiny layer off. At this point your cooler will be pretty rough in texture so sand again with a higher number (fine) grit, such as 100 or 120, to smooth it out a bit. Don’t forget to get inside any ridges or indented logos! When you’re done sanding, wash the cooler dust off your cooler. I always sand by hand because I’ve always done small coolers or personal (1/2 gallon) coolers such as this one. If you have a large cooler and biceps smaller than Vic Beasley I’d recommend investing $30 in a power sander.
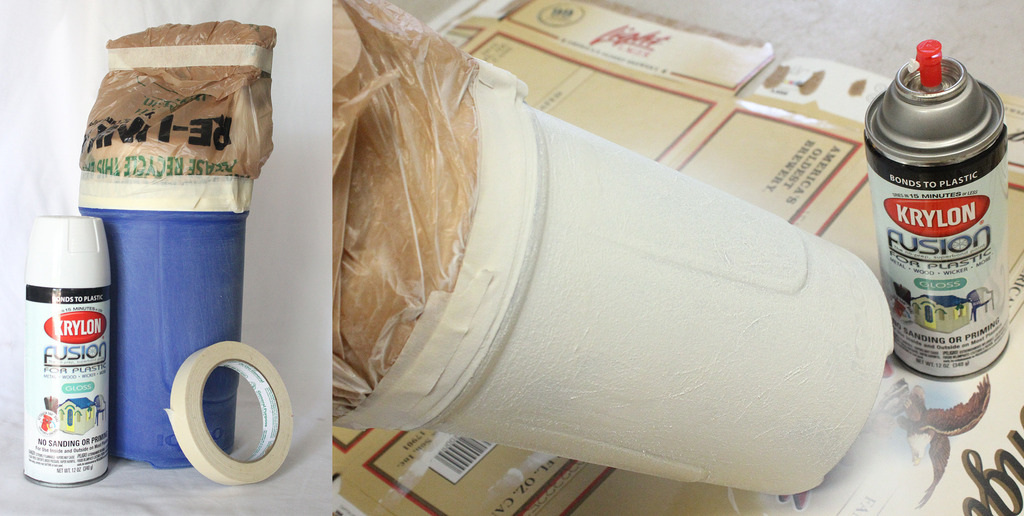
At this point you’ll want to tape off any area of the cooler that wont be receiving paint. I use masking tape, painters tape may be a less amateur option. I went a little thick on the tape in order to keep the handle in an upright position. Some coolers have handles and/or wheels that can be taken off and put back on.
If you’re using a spray primer like I do, spray outside or in a garage and put a protective layer between your cooler and the ground. Newspaper works great, but if you don’t have any then paperboard from a case of Yuengling will do the trick. Spray your cooler with a nice solid coat (or two) or primer and let it dry.
If you’re using a spray primer like I do, spray outside or in a garage and put a protective layer between your cooler and the ground. Newspaper works great, but if you don’t have any then paperboard from a case of Yuengling will do the trick. Spray your cooler with a nice solid coat (or two) or primer and let it dry.
Now you’re ready for the creative step: painting. If you can’t think of what to paint, check out Cooler Connection or Pinterest for ideas. Favorite alcohol, sports team, song lyrics, patterns, cities, colleges, and clothing brands are always a good place to start when brainstorming ideas! I love pretty colors and patterns and I lack extreme studio art skills (they went to my cousin, Sayer, instead) so I chose something simple and easy.
If you decide to do something more intricate, one great approach is to print out the logo or design that you will paint and mod podge it right onto the cooler. This gives you a perfect reference to paint over. Or, there is the trusted tracing method. For this you simply print or draw your design on paper, scribble graphite all over the back of the paper, place the design against your cooler, and re-trace your design with pen, applying heavy pressure. The graphite will transfer from the back of the design to the cooler, leaving you and outline to use as a guide while you paint.
Paint pens are another cooler life saver. The general consensus is that Painters brand from Walmart are superior to the Craftsmen brand from Michaels. Do not use regular Sharpies, because they will bleed once you seal your cooler, and ruin the design. However, Sharpie does makes paint pens, which some people have reported success with. I used a very tiny and stiff paint brush to write “Cheers!” on the bottom of my cooler so although paint pens aren’t a must-have, they would’ve sped up the process.
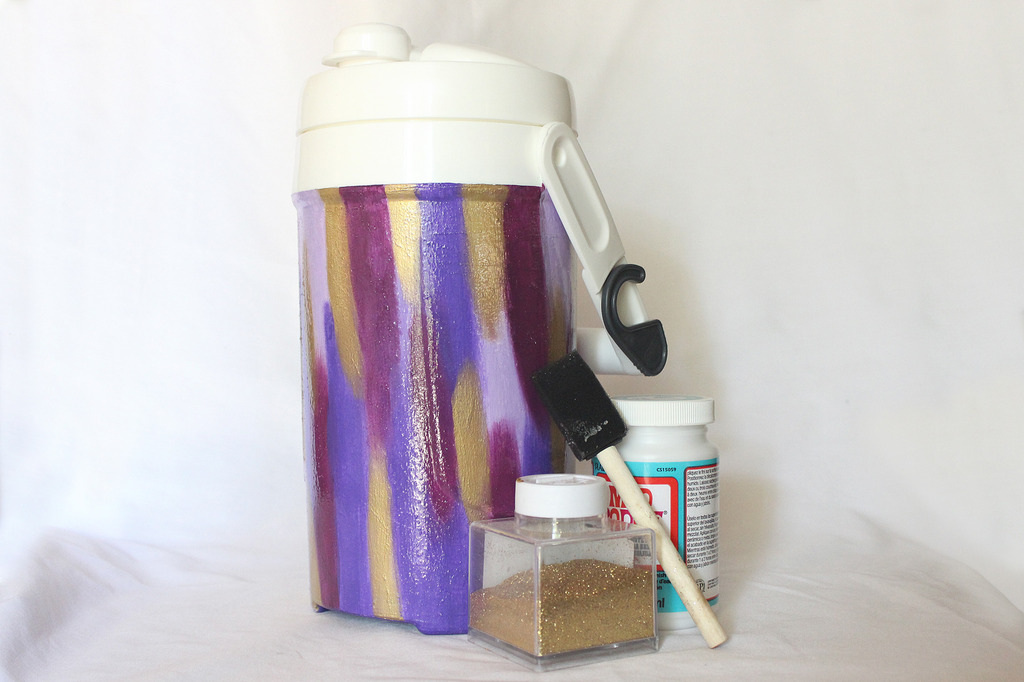
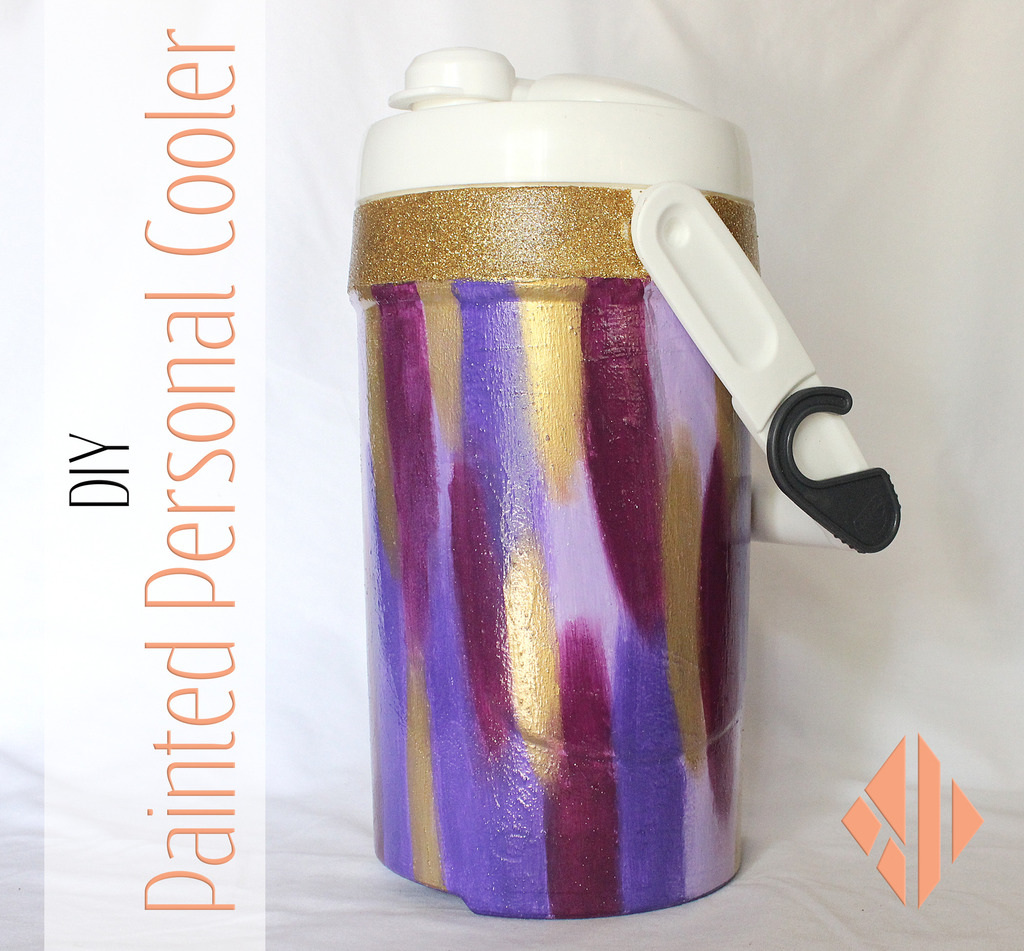
Okay, cooler, I see you. Not bad, but could be better. After I finished painting I removed the tape, preparing to seal. But I have a slight glitter addiction, so I think it would only be appropriate to tie that in. I unscrewed the lid and sanded the white band at the top of the body of the cooler, then used a foam brush and dishwasher safe mod podge to apply 2 coats of gold glitter. Oh yes, now I’m ready to seal.
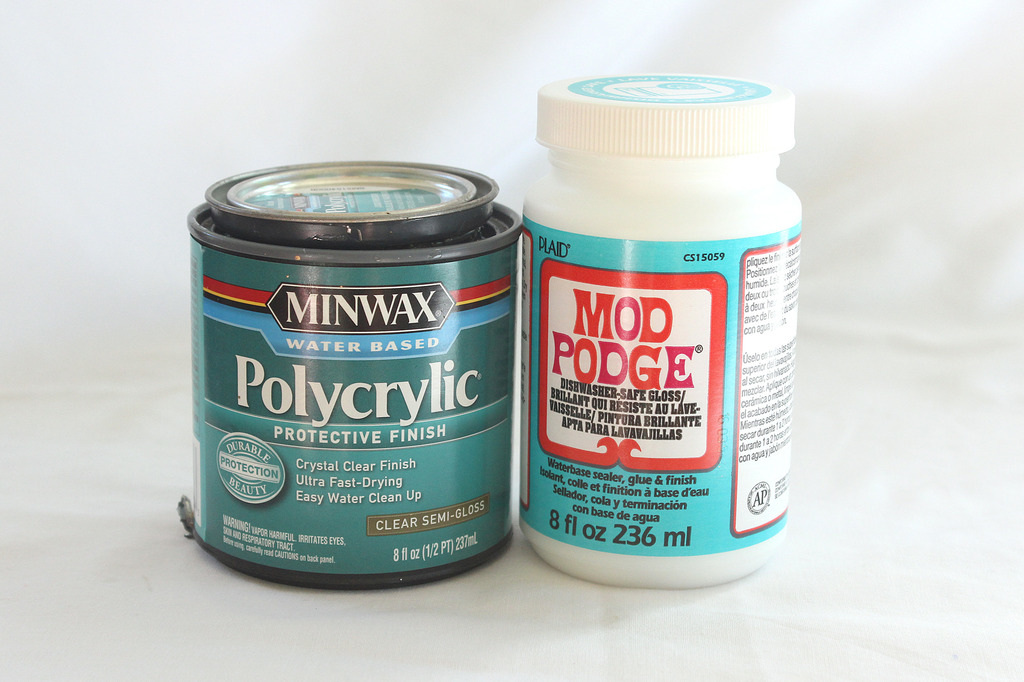
Meet your best friends: Polycrylic and Mod Podge. Sealing is the second most important step after sanding because it protects the masterpiece that you’ve just painted. I usually opt for 2-3 thin coats of mod podge and then 2-3 thin coats or Polycrylic. I wait about 20 minutes in between each coat of mod podge and an hour in between each coat of Polycrylic. After your last coat of Polycrylic wait at least 24 hours before use.
Because Polycrylic is water resistant, not water proof, some people will use one layer of Polyurethane. If you chose to do so, be careful to apply a thin coat, or else all of your whites will turn yellow. Some people also chose to use a waterproof layer f Flamowood or other resins. I don’t use either of these methods because I’ve always had luck with just mod podge and Polycrylic, but if you expect your cooler to really get roughed up then it may be worth extra sealants.
Because Polycrylic is water resistant, not water proof, some people will use one layer of Polyurethane. If you chose to do so, be careful to apply a thin coat, or else all of your whites will turn yellow. Some people also chose to use a waterproof layer f Flamowood or other resins. I don’t use either of these methods because I’ve always had luck with just mod podge and Polycrylic, but if you expect your cooler to really get roughed up then it may be worth extra sealants.
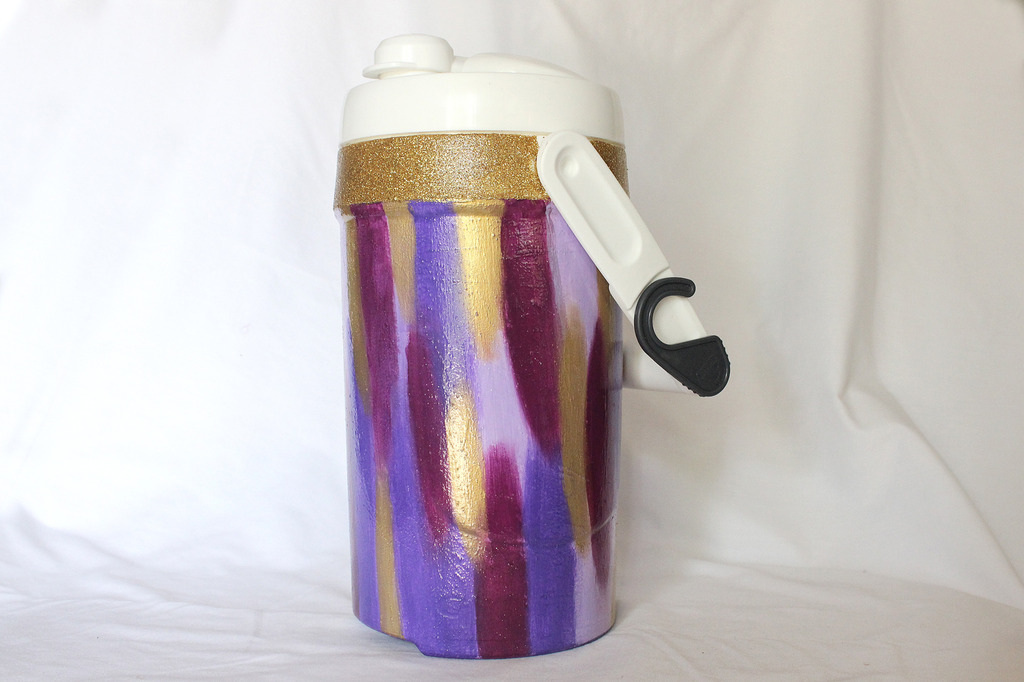
I really think the gold glitter was the perfect finishing touch to this gem. She’s so pretty!
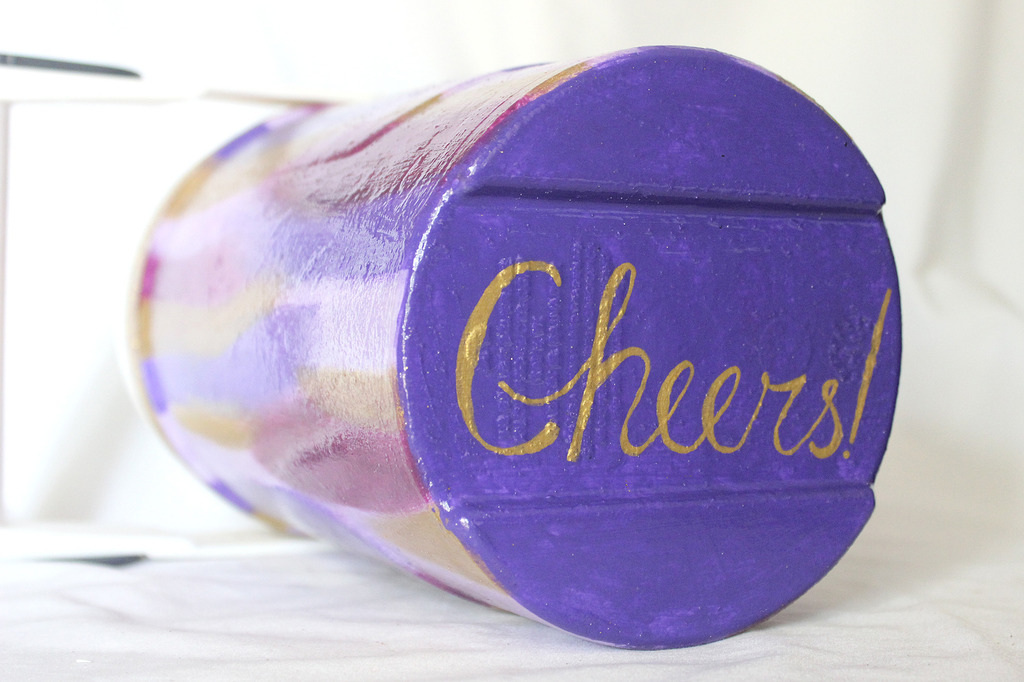
I love hidden surprises, so I had to throw something cheeky on the bottom. I’m always the one in my friend group to enforce the always-cheers-before-you-drink rule, so I had to throw it on there. “Bottoms Up!” came in a close second, though.

The last step is the most important step: put it to use! And don’t forget to post a picture of your finished cooler on the Cooler Connection so that everyone can marvel at your work and pull ideas for their next cooler from it!
 RSS Feed
